

Build own OpenVPN server by using raspberry Pi (Part2/2)
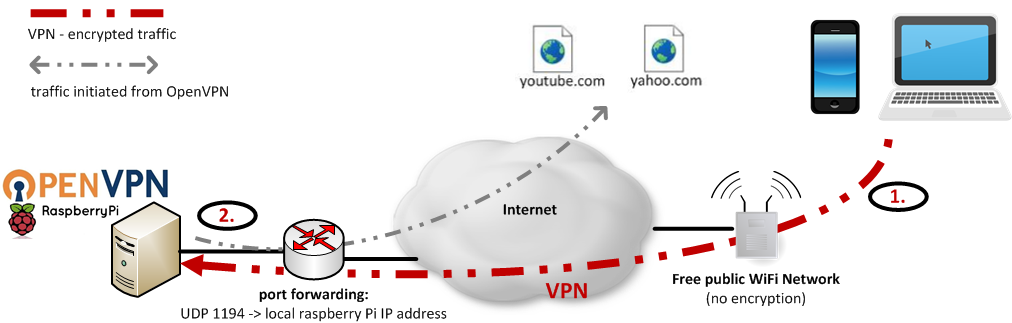
See network diagram above describing our scenario
1. Traffic is encrypted on the way to OpenVPN server
2. Traffic is initiated from OpenVPN server on behalf of client (mobile, laptop)
Introduction
Welcome to the second part of our article where we will finish our setup on client side. In our scenario I will use smartphone as end-device. At the end we will be able to establish VPN tunnel between smartphone and raspberry Pi, so it does not matter where you are connected, you will be fully redirected to the VPN and using Internet connectivity as you should be sitting at home. Exactly the same procedure with any small differences can be used also for your laptop, table or any other device which is able to install OpenVPN application.
In case you have some troubles or need to review your server config again, feel free to check our first post:
Build own OpenVPN server by using Raspberry Pi (Part1/2) – server configuration (Raspberry Pi)
Preparing configuration file
Open (create) new config file so we will edit it according to our requirements:
vi /etc/openvpn/Client1.conf
Now put following content to the file:
client
dev tun
proto udp
remote <YOUR PUBLIC IP OR DYNDNS HOSTNAME> 1194
resolv-retry infinite
nobind
persist-key
persist-tun
mute-replay-warnings
ns-cert-type server
key-direction 1
cipher AES-256-CBC
comp-lzo
verb 1
mute 20
<ca>
-----BEGIN CERTIFICATE-----
MIIE6DCCA9CgAwIB94fjldnIFhelx9kZMA0GCSqGSIb3DQEBCwUAMIGoMQswCQYD
VQQGEwJTSzELMAkGA1UECBMCQ0ExETAPBgNVBAcTCFNsb3Zha2lhMRIwEAYDVQQK
FAlrYWxrb19ycGkxFjAUBgNVBAsUDWthbGtvX3JwaV9WUE4xFTATBgNVBAMUDGth
bGtvX3JwaV9DQTETMBEGA1UEKRQKa2Fsa29fcnBpMTEhMB8GCSqGSIb3DQEJARYS
bWVAbXlob3N0Lm15ZG9tYWluMB4XDTE3MDIyMTEzMTcwNFoXDTI3MDIxOTEzMTcw
NFowgagxCzAJBgNVBAYTAlNLMQswCQYDVQQIEwJDQTERMA8GA1UEBxMIU2xvdmFr
aWExEjAQBgNVBAoUCWthbGtvX3JwaTEWMBQGA1UECxQNa2Fsa29fcnBpX1ZQTjEV
MBMGA1UEAxQMa2Fsa29fcnBpX0NBMRMwEQYDVQQpFAprYWxrb19ycGkxMSEwHwYJ
KoZIhvcNAQkBFhJtZUBteWhvc3QubXlkb21haW4wggEiMA0GCSqGSIb3DQEBAQUA
A4IBDwAwggEKAoIBAQDOJVHGvKSsTXbsg03PPzl0VXMM99IRhsxKHuoHqN8Wz9bO
UPzUR6ziZvq82VKmiLKzGkEd8y38IwwktULrbutLsFoht7HPDRP6NGUUyR0HaVVz
v1dVxCQnNp+/H2xrY84pKIrEBLfa4R1mi8JGASSFqwyUpEL6SMCORewU2mG+LC8Y
DTe/Yq9RdDlnIbFt1LS3G/fid4ljhfghsls/didoa3jHpdhaP9a42hS4cySp+e8I
dh8Ic/BwsdjELCyJRklBLC5bBu7ltbvBXuJxNZB9IRuLXzx5SG+1/AU0NygWG5pa
28cc127/c8QTYmGDWLb1s8nhMSUSPTq9bf1kmfGVAgMBAAGjggERMIIBDTAdBgNV
HQ4EFgQUMLiihqD72jepOM0w5EmvsQuRTIcwgd0GA1UdIwSB1TCB0oAUMLiihqD7
2jepOM0w5EmvsQuRTIehga6kgaswgagxCzAJBgNVBAYTAlNLMQswCQYDVQQIEwJD
QTERMA8GA1UEBxMIU2xvdmFraWExEjAQBgNVBAoUCWthbGtvX3JwaTEWMBQGA1UE
CxQNa2Fsa29fcnBpX1ZQTjEVMBMGA1UEAxQMa2Fsa29fcnBpX0NBMRMwEQYDVQQp
FAprYWxrb19ycGkxMSEwHwYJKoZIhvcNAQkBFhJtZUBteWhvc3QubXlkb21haW6C
CQCQMvK1dXdAWTAMBKJlssi3hjADAQH/MA0GCSqGSIb3DQEBCwUAA4IBAQC6U7eq
DYd2l1UAiW4b0rLc7CVtsOnJIiQiK3PzOxt/y/U7Sz0afyCHfj+4hzhE48CxrbX3
Dn9yIWOGp6ouDA2TOTJzo6FNtpSpuCO8ESbsJ80of7/pZeRIZpjneFcv8ZQOJHE4
X3WaXgprO9LMDPsxk14ugFKMlDcqh8h9FOspvql3mfbFWRSQ2Z/d8NlXSAs1yqQF
fEG1kYcSBUQmXXtIHBtxeWBfPSv8uIrGzjCRucqt9ULNBJsvhnt339U7VDwNr2gT
DPhbUCHYPE7qyjF86WG3uh4KzSTc4Aj7d/C369nwvtIgXEDgxxTPH+OcQ7r1/ezh
iJotjiH7cHkLdoPj
-----END CERTIFICATE-----
</ca>
<cert>
-----BEGIN CERTIFICATE-----
MIIFWjCCBEKgAwIBAgIBAjANBgkqhkiG9w0BAQsFADCBqDELMAkGA1UEBhMCU0sx
CzAJBgNVBAgTAkNBMREwDwYDVQQHEwhTbG92YWtpYTESMBAGA1UEChQJa2Fsa29f
cnBpMRYwFAYDVQQLFA1rYWxrb19ycGlfVlBOMRUwEwYDVQQDFAxrYWxrb19ycGlf
Q0ExEzARBgNVBCkUCmthbGtvX3JwaTExITAfBgkqhkiG9w0BCQEWEm1lQG15aG9z
dC5teWRvbWFpbjAeFw0xNzAyMjExMkxMzIzNDZaMIHAMQswzIzNDZaFw0yNzAyMT
CQYDVQQGEwJTSzERMA8GA1UECBMIU2xvdmFraWExETAPBgNVBAcTCFNsb3Zha2lh
MRwwGgYDVQQKFBNrYWxrb19ycGlfY2VsbHBob25lMRIwEAYDVQQLFAlrYWxrb19y
cGkxGjAYBgjdoGUKDJDnkjndoidkaV9jbGllbnQxMRowGAYDVQQpFBFrYWxrb19y
cGlfY2xpZW50MTEhMB8GCSqGSIbZG9tYWluMIIB3DQEJARYSbWVAbXlob3N0Lm15
IjANBgkqhkiG9w0BAQEFAAOCAQ8AMIIBCgKCAQEAte0UGlgxXx1PBeyeFeqxtu30
x2+ymCMosVjtcHKFfBR8mZloW0fRzul9lMHI624DmffdkfMeCuHGZrUPNNEyUxuu
rWDDWvMRSX0xDCGU4kVUBp5nq/2BqapcE1zOUe8j2wRj8hfrsZpggcahhK/M+pII
QYc7zhZtpmZYYnFsjRF8T4ryb+NKQmZ1P56n3bD63gZIZ00B5K8k/z7eXhqIXyE9
7OF6F7ajTNVW81eTnkptZUJamU60YpCqbyAR8dsojdosncoirfzEtTLo9X1Mb97o
N7wNheyODAKX0Ruthmlct0izcGUEI7x/C4GD88aSrGG2oX8bOsWH+6chxYS0+wID
AQABo4IBczCCAW8wCQYDVR0TBAIwADAtBglghkgBhvhCAQ0EIBYeRWFzeS1SU0Eg
R2VuZXJhdGVkIENlcnRpZmljYXRlMB0GA1UdDgQWBBSUvenLD/ihyQL3qVd7gcjg
jIfou49jfoiDVR0jBIHVMIHSgBQwuKKGoPvaN6k4zTDkSa+xC5FMh6GBrqSBqzCB
qDELMAkGA1UEBhMCU0sxCzAJBgNVBAgTAkNBMREwDwYDVQQHEwhTbG92YWtpYTES
MBAGA1UEChQJa2Fsa29fcnBpMRYwFAYDVQQLFA1rYWxrb19ycGlfVlBOMRUwEwYD
VQQDFAxrYWxrb19ycGlfQ0ExEzARBgNVBCkUCmthbGtvX3JwaTExITAfBgkqhkiG
9w0BCQEWEm1lQG15aG9zdC5teWRvbWFpboIJAJAy8rV1d0BZMBMGA1UdJQQMMAoG
CCsGAQUFBwMCMAsGA1UdDwQEAwIHgDASBgNVHREECzAJggdDbGllbnQxMA0GCSqG
SIb3DQEBCwUAA4IBAQCuOVdpMYetjDHFD40bIIu8OGoTef2Eg9f6OmoysLfxjEvS
P7ZGVHjyGjXv8QzXfdAMpTdJgYzMJkBeUyqMeEHt9gECBtQcNibBOMQFiBE9bWc7
ZnPVkxcIhco14MlkfOJG0lPYwt5AyB9aQFER7IU+9f54kqkq8tbO1mDGRbMlLJV+
zEm1MiqIGlSxXDpc9JCgIYM8S0NCcX2PydD+Pm88ScAGm8qLvqJ1ZYjHTT8UdDTX
0piD8kyrl2anelNe2I6lKdP+0/2AvhcS/Bkdnlq3hAW0tZ6Du7GcKGu4dk8ktUPY
vRTSTx6+7BOxi4IrddzDjgE+CwOo5ZYs1J6rqnDQ
-----END CERTIFICATE-----
</cert>
<key>
-----BEGIN RSA PRIVATE KEY-----
Proc-Type: 4,ENCRYPTED
DEK-Info: AES-256-CBC,6BD4184CD60B517CC2B9F1E93526DEDE

Hmdhosu/djoL0L2x8I0VBDy+Rwye1eXUs5V2kLgJAROTjuO7odHik9HkLqkaC8C4
hqtfoIHN9soeYhQpGEGWXhSgE7az4RPTn9Xi+pmfuSHlv/33t+tviWaMeaHPrgnt
Ku2mFcCFMr1dgvUjwzRaaz6kVQpUQAo1Hymn/8spBmpG+eSjrLE/JzVXpeH8XxtC
BbHLpIHiBs+6jvogJi5LybHuteQo3uUoAKkT1Z2NrbYkXcN5jMCUgCqHKUkM84p3
CXFjh4pyW1KZXtmtD9DwEuQOAtsFAAI+GcbOsotYRWCeR2MwQBs0hYzqE41hVdRW
rJcD8eZhM/otLYBS0cqVZjbSNgO+KL/7mPXkYDEp/gV0AFT7b8k3Vr6DYSHbsZ5r
0/Pb3cK4WUIPK7hMHGa6MoSOQNaULcO2JBS7w4uJh38fUM+nFdqFOax1olcqS3KH
eh2qpyRqOIymdvzJotnmlstp1mGeDUyhzvRNjvzvnPTZ6YJ2D4/7kpIE8+3jnpxy
1L3SQAk0ogNA/n9QlRgL4jOvEMI1EI2/yZQnBB5Jy5Ok9ci/3Mj/66rjBNd6v8pX
WSOwarNKz940BaUa7Dhx1xaPf5FOncM/VXhSIrFhxxTrXDZwWUiNlZ1KC1PT6U3v
IDQ6jwz43BVVqOtLQWe9c/q7j5CxtSv3A63a98INs9rThGl2DTuzeH9IXD6BiEcx
xF/4NsTw/P4TmRsHxtxjB5I6GL3dU7E/6vfGQY8cl+HcBiS53vbM8gE2DzrCRAxQ
FCZ18oiU7679sGz+CSGqhR7PVfuTshq3WWWUuP3KCUL6cV/S+4qTgs7kYvAahAF9
881CMOHlVPMmvak+hYHdfGoxuvrBYaucg+1q7WIpEBUdFcZPGDwcm7vw1547Pcql
YzHlQBkF4Sk/9thBZMKdkljGXoaCWNeZdhQprWMaclZEDJhcUPEV3ndjV2X7nC5Y
qaSJaTmgeHx5Y2dUr5+9riRcSruU4f6vE9DnBpNBcQE3dTlVDWqs9caMApdJSCIO
KC9rYFN1F+rsbthfVw3J3uJVeS66FPtDIILqdtTchcMLqPZh17DZTkh+tEi8O6gm
+YftPRdPrqYemeF6TRN6Wox0kI1JKhvD0z/c04vat2oWFyJyIMjvk7o2c2blWeCE
DXpkatLk0EPWVyQDxlIagSIReh0tRu5cfUKINpvYnjE0E9yZPw6R72KpiyQuiPV1
Yt/YUJLXOmaWhH7aexQihYqzakkbpZaGcX+a0bCweAL+vuoCS2PZLOo2XnWe1YQe
LBOJ2cGJrih1Lk3yPs2p4JNGksc/9pcq9J+qevkeSY5v7Hx+rpyNjuYhrg3qKGsE
6yruFzG0Id4tEAqUT8JJKsOf1kzfrPtmUY8aEzBATdSnNSb+qJhzwQ/qkxVHgi1B
pcVaFtVuvm7/7cwtanqjoHBAiuyK5VKzZKZCxsdzZ6eYkdH3FEL/EF5hJQGO5Pqj
ipNyLt0skpwotcNl4hduHD81bPB1qcANhUVIzhvhTVEpt9nn12xJ9wjInA+0rAmp
dUxfAUEGghJzmfYFYAL1eFGd5VQGikgzMnNTCYZjdplKJML1GHktzJGn61C6W8Z3
-----END RSA PRIVATE KEY-----
</key>
<tls-auth>
#
# 2048 bit OpenVPN static key
#
-----BEGIN OpenVPN Static key V1-----
0fe00c09a3716d9deb7dc82d97e97eee
0a845ebc99ab3e2dfe2afc968f45a2fc
661ab2674570a4fb4d0b7f88784e52d6
03129226690d546f8d1d9c1f420c8a22
9f8aa8dd05a6d3cfff71b9b5f98d5122
bcf1624a621bb95da5a3097969bc7c8b
43b88070fdf855a9b794dcd933b56be7
ec2253030392c93c91201df444db0815
34a11fe37c92711512a65ec723321766
b01a79d181f785a84f57693add25ae34
93cad70a4341a6b5a5ff32b853eb3e07
1d5e8df34de82caade714c3d0be26df8
84862fe81f9668952afdc8c4acab302f
eef0c896674e5892b7539b3bac17c6ab
412c6a9b3756cebc083e5dd865f5bdea
efeae4c1020eb199a9fc8fe89a6731b8
-----END OpenVPN Static key V1-----
</tls-auth>
Now let me put some words here. First of all, above published keys/certificates are randomly generated and not used in production (security reasons). I have just pasted it here to be sure that you know exactly how content of your config file should look like and what format should be used. You will have to make some adjustments to the config above:
- Replace segment <YOUR PUBLIC IP OR DYNDNS HOSTNAME> with your static public IP or dynamic dns record. It has to point to the public IP (dns record) behind which your openVPN server is sitting on. Beware that usually is also needed to make port-forwarding on your router: <any_public_ip>:1194 —-> <local_IP_of_your_raspberry>:1194 Please follow official guideline of your router how to proceed here.
- We used inline references to the keys and certificates as opposed to packaging them up together. Copy and paste each in the appropriate area. Be sure to paste it completely without any additional spaces or characters.
<ca>
-----BEGIN CERTIFICATE-----
# insert base64 blog from file ca.crt
-----END CERTIFICATE-----
</ca>
<cert>
-----BEGIN CERTIFICATE-----
# insert base64 blog from file Client1.crt
-----END CERTIFICATE-----
</cert>
<key>
-----BEGIN PRIVATE KEY-----
# insert base64 blog from file Client1.aes256.key
-----END PRIVATE KEY-----
</key>
Once your config file is ready, rename it to the extension .ovpn which is used by OpenVPN application:
mv client1.conf client1.ovpn
Email the Config File to Yourself, or Use Dropbox/Google Drive, etc. Please use secure way to transfer file as it is containing also your private key.
OpenVPN application and import
Just follow screenshots below to install application and import configuration file on client side (in our case android smartphone).
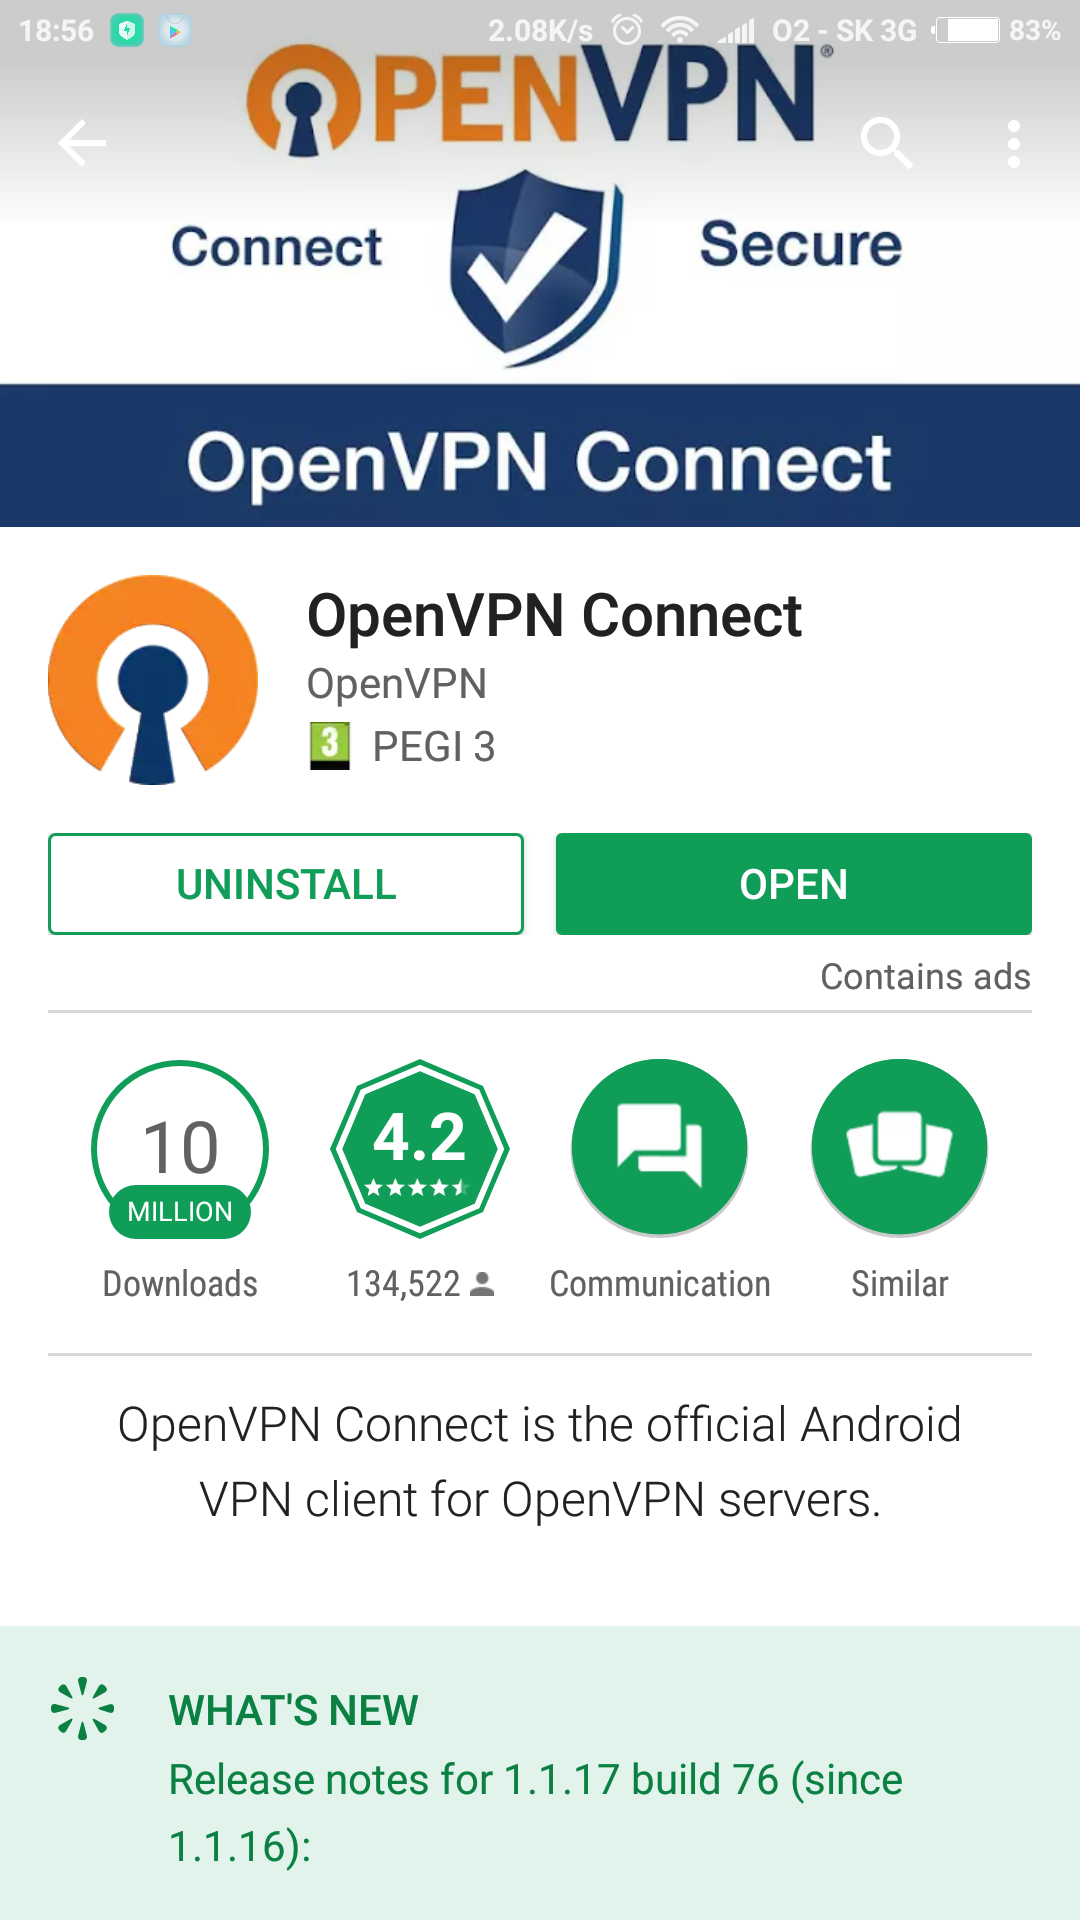
Install OpenVPN application
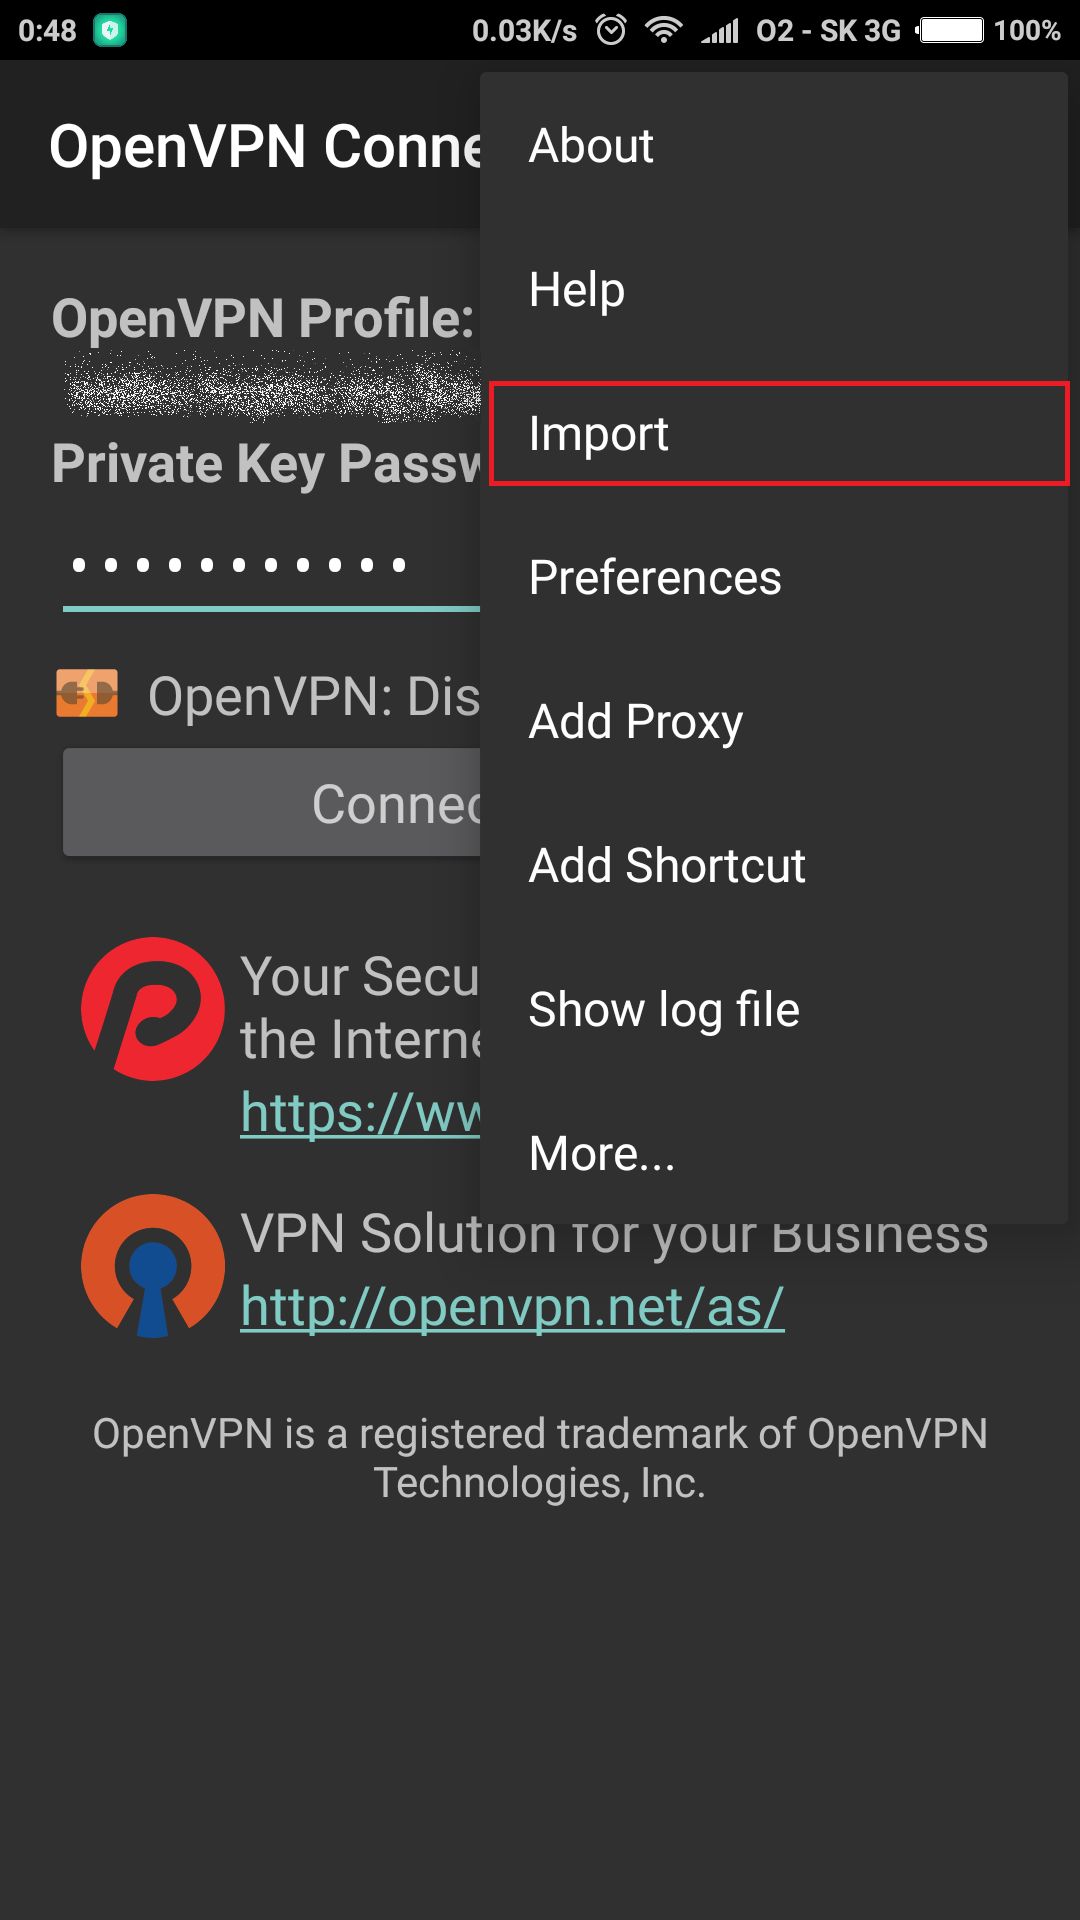
Import configuration file
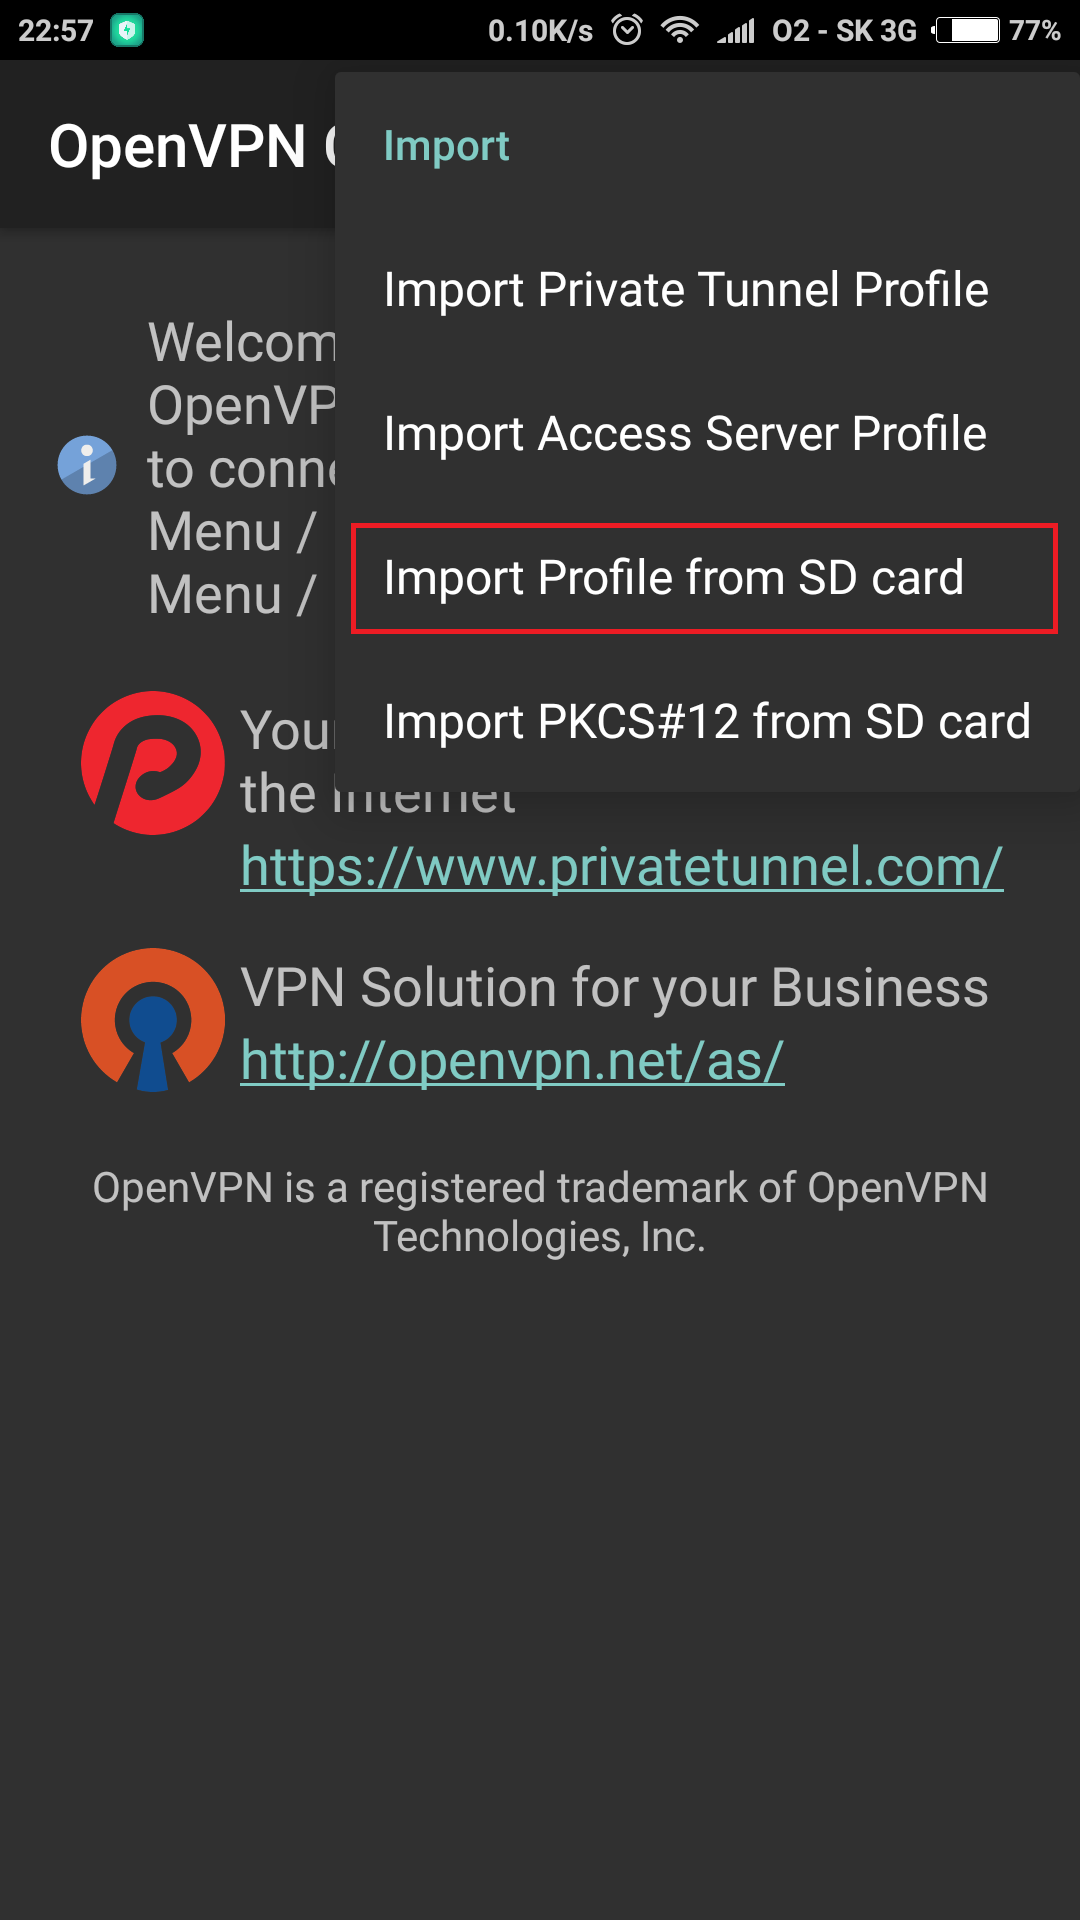
Import Client1.ovpn file from SDcard
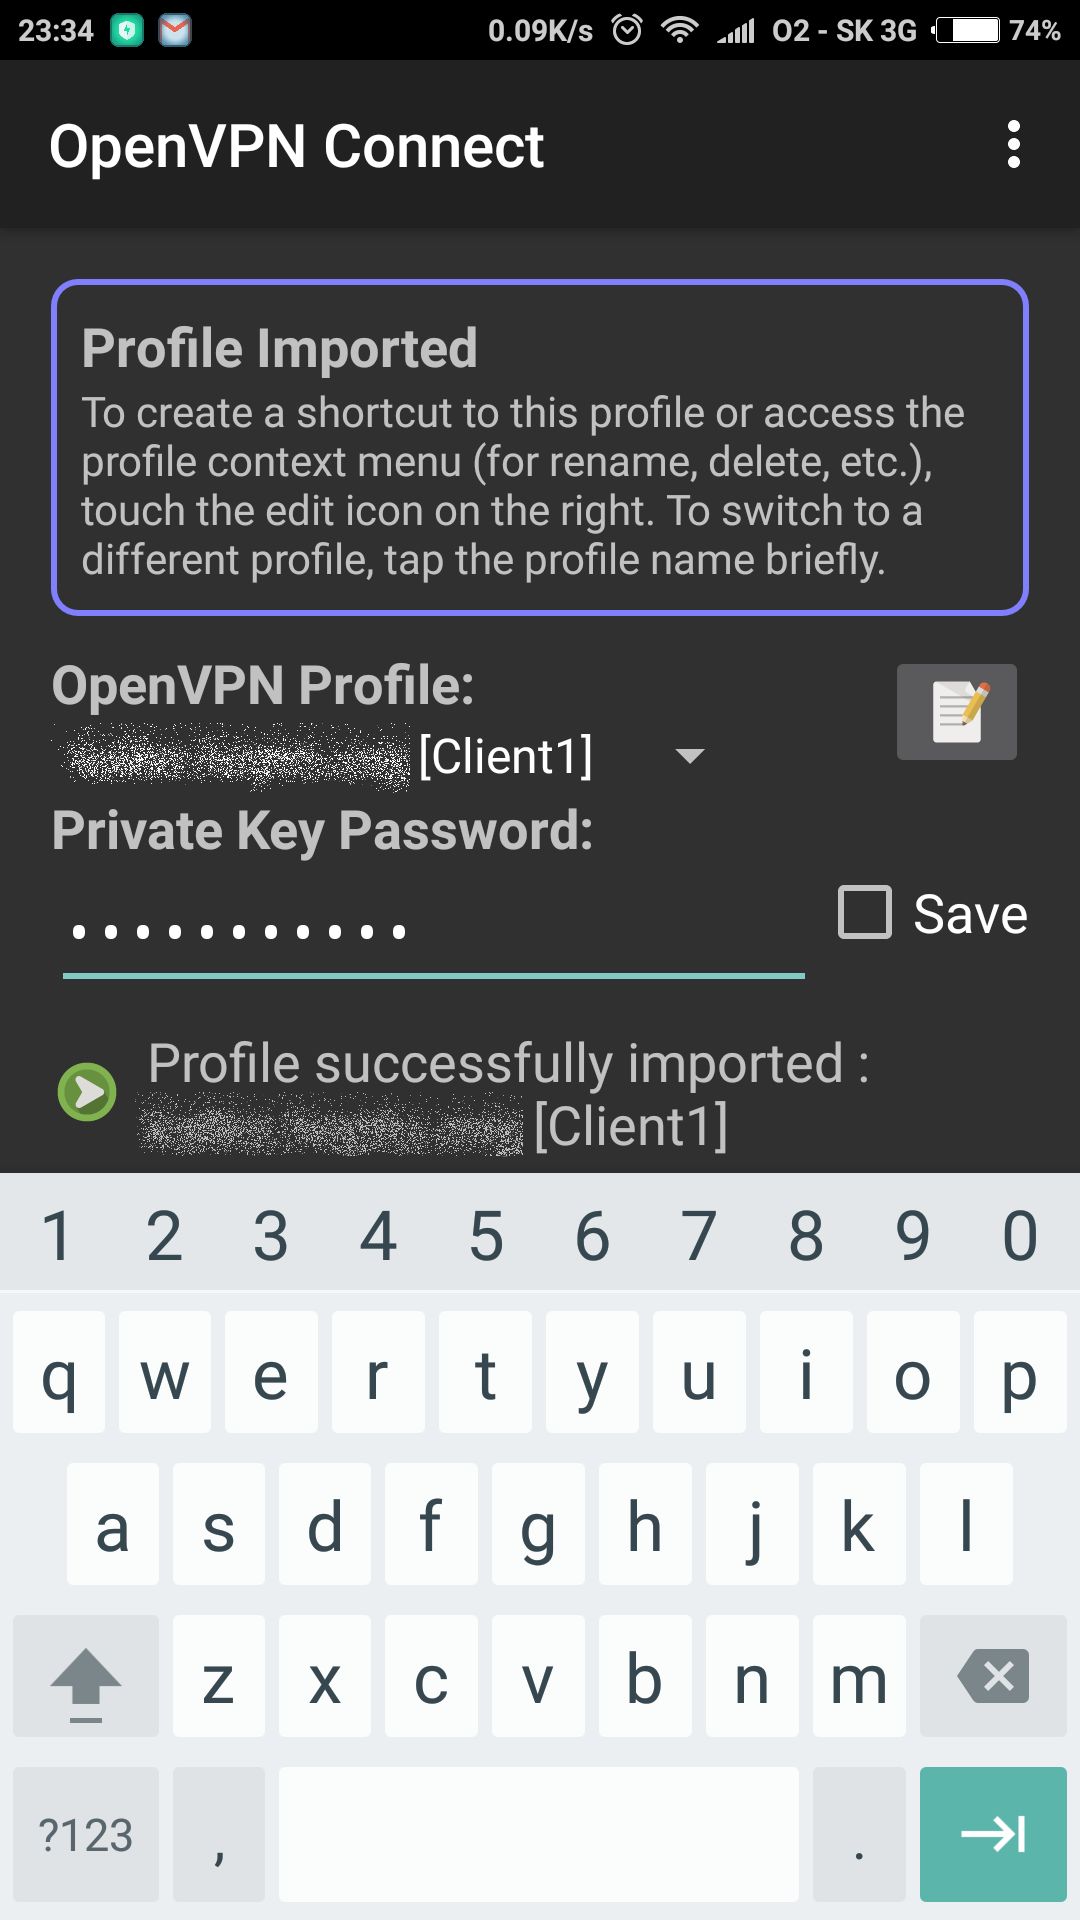
Insert pass-phrase you’ve entered during creation
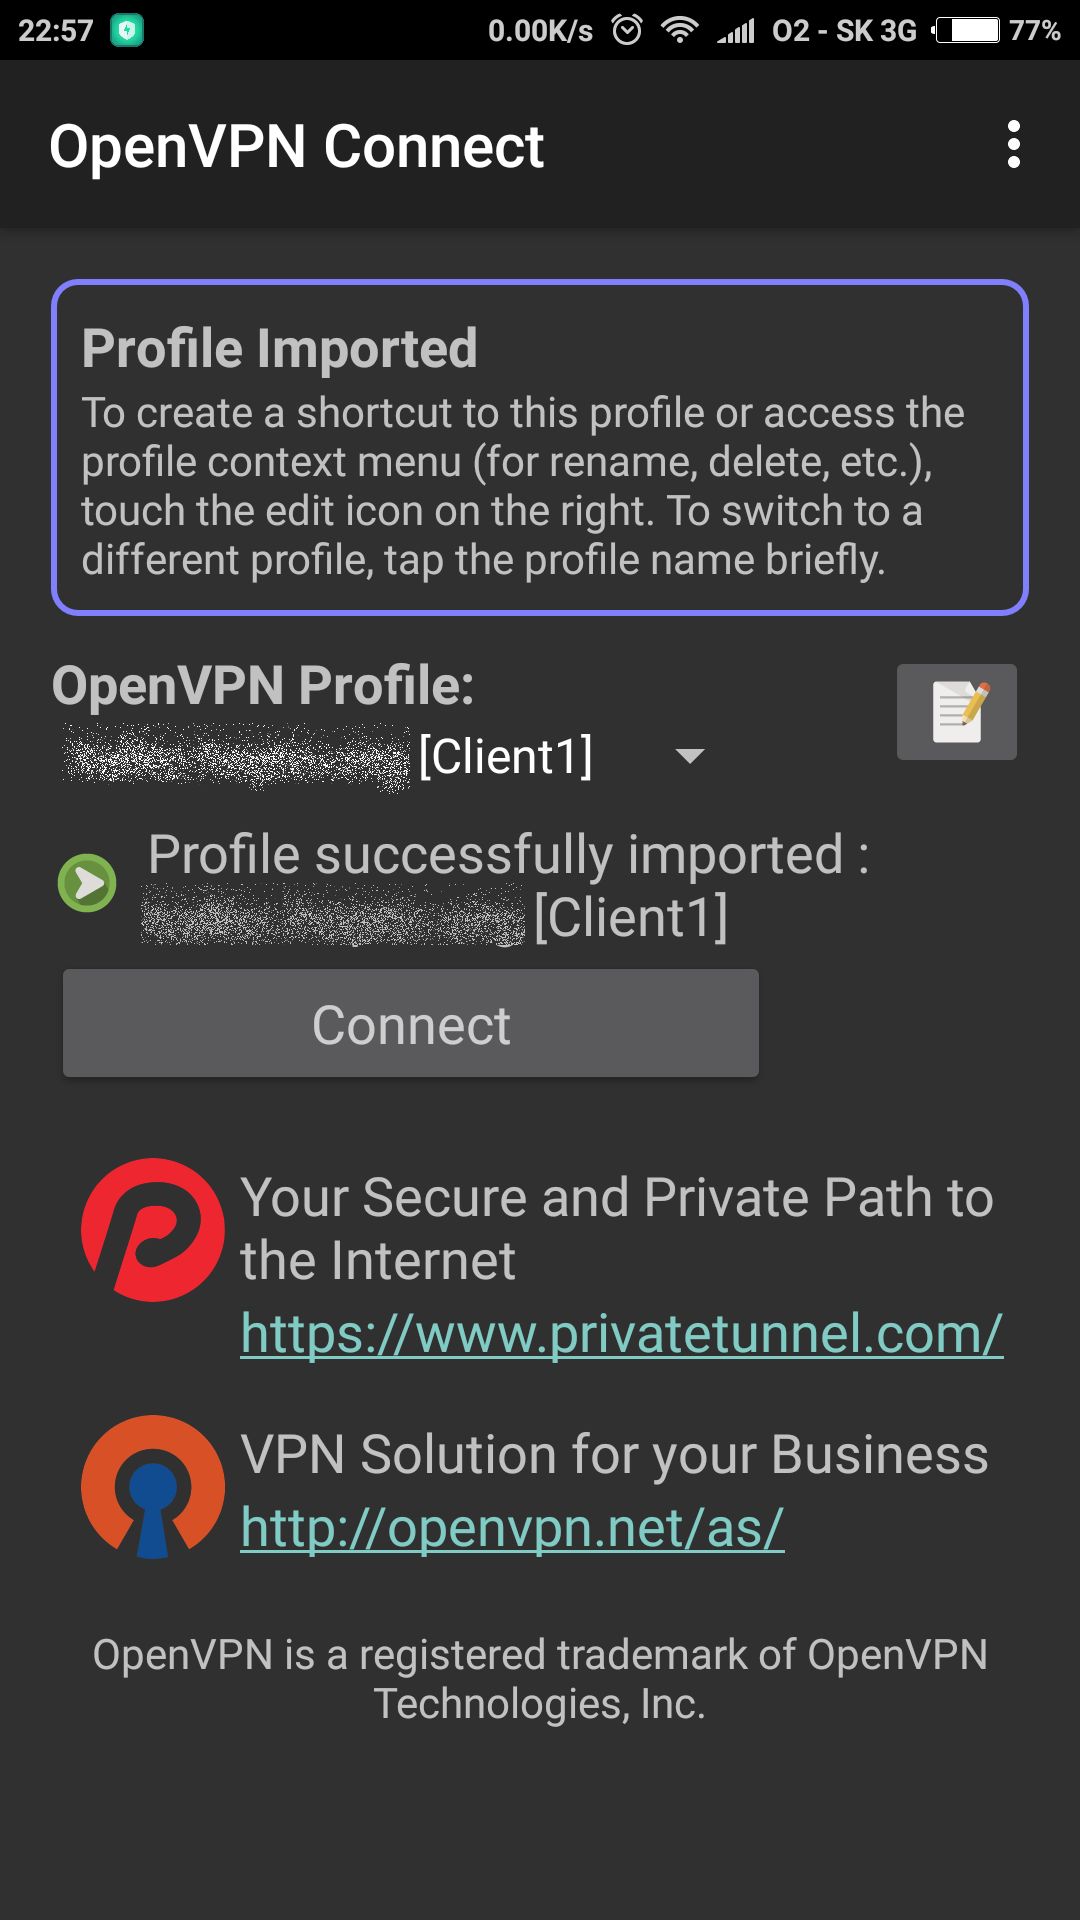
OVPN profile has been successfully imported
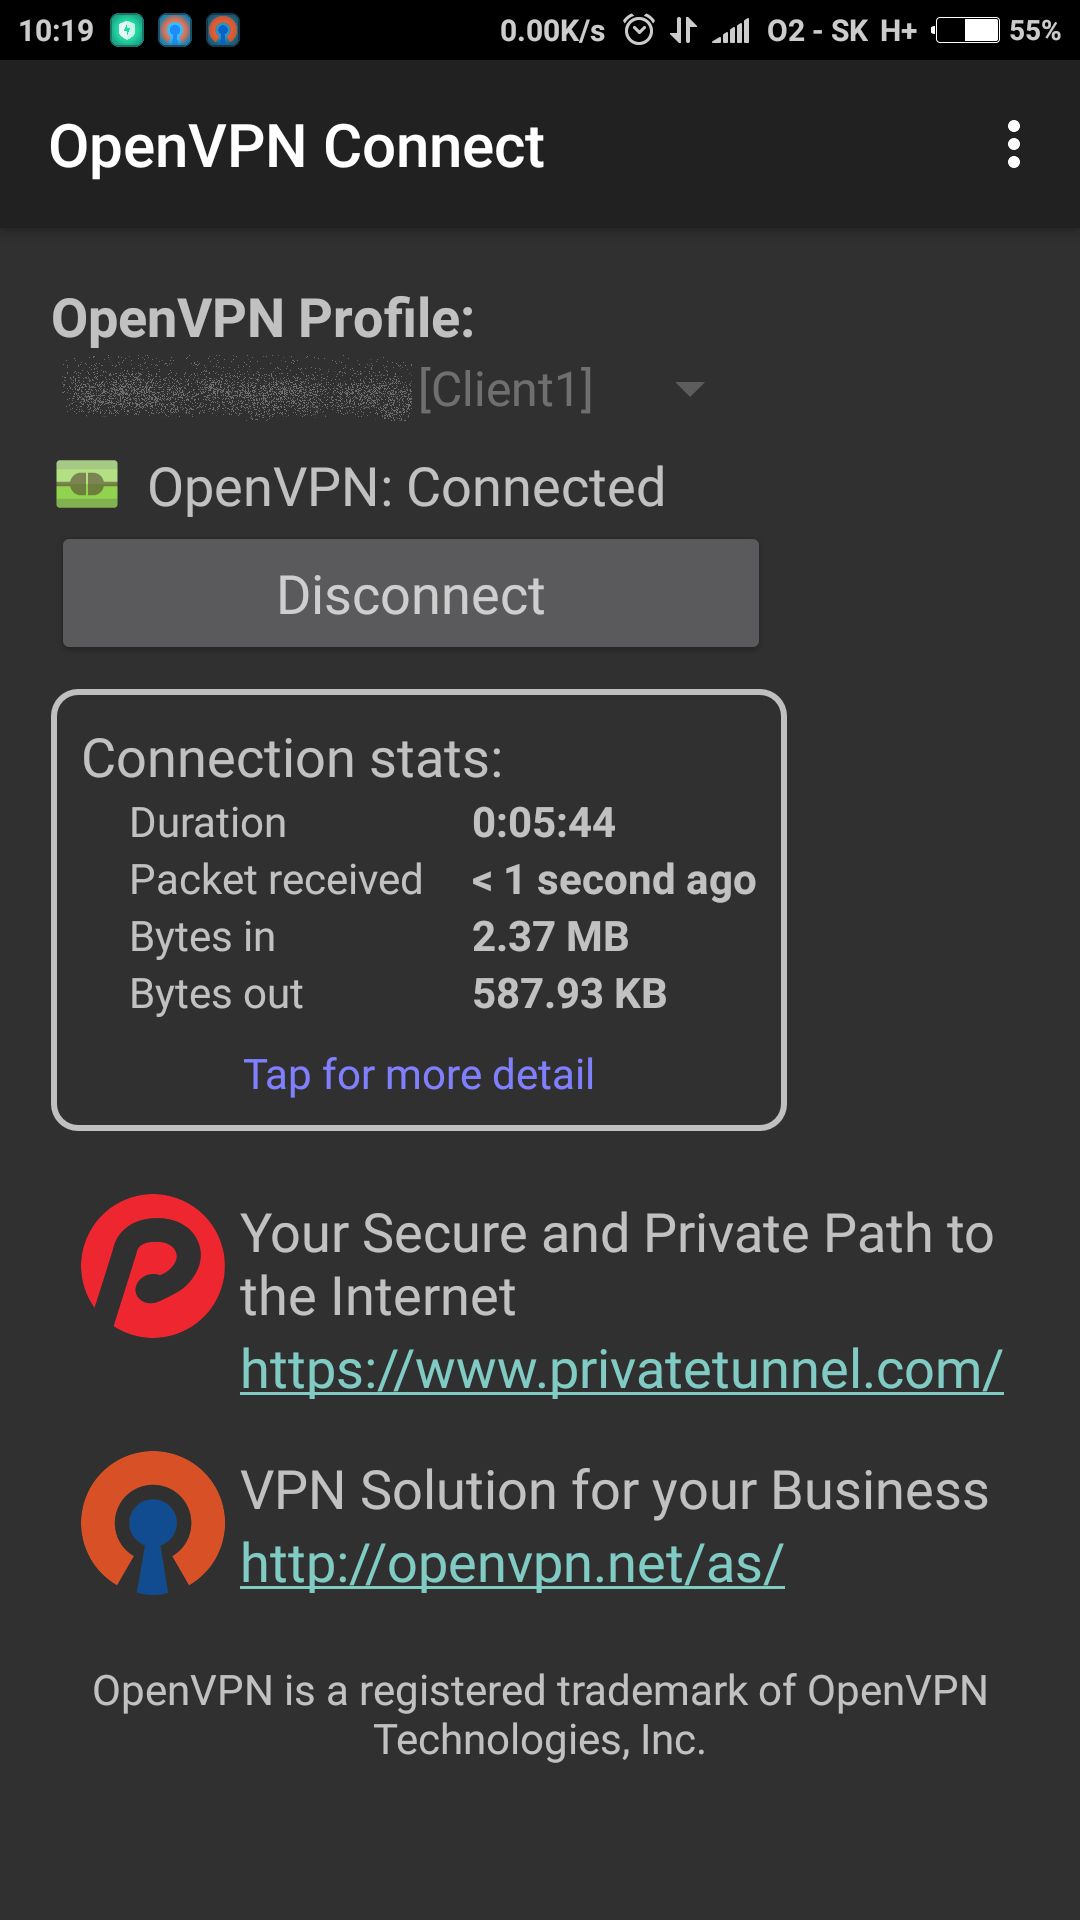
VPN connection successfully established
Final testing
In order to test VPN implementation, you can try to find out what is your current public IP before VPN activation and what is after. If everything is working correctly you will be able to see different IPs. Once you are connected to the VPN tunnel you will see exactly the same public IP as you have at home. For simple testing, you can use website: https://www.whatismyip.com/
During any troubles, you can check logs on server side:
less /var/log/openvpn.log
If you need to check logs on client side, use “Show log file” option directly in OpenVPN application.
Conclusion
Congratulations! Now you have successfully finished openVPN configuration on server and client side. In case of any questions, do not hesitate to leave comment below.
source: openvpn.com
2 comments
Great tutorial, worked like a charm after others failed. Using tunnelblick on mac. Only had to identify and make one correction.. where you say “# insert base64 blog from file Client1.key” it should be “# insert base64 blog from file Client1.aes256.key” noting the aes256, as both Client1.key and Client1.aes256.key exist based on setup.
Thank you Kenny, it has been fixed 😉